Rotation Week 5: Moodbords | Sample Making | Photoshoot
FASHION //
Researching Our Theme //
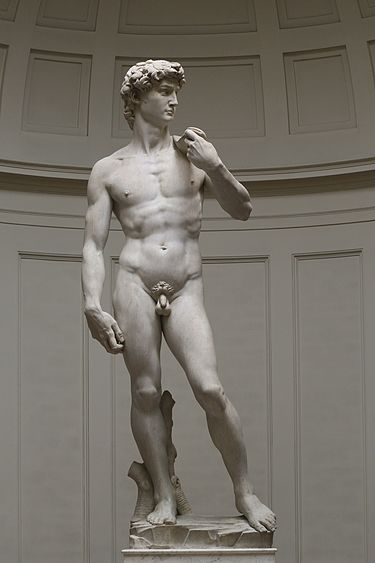
As required, I decided to do my research on Michelangelo. I didn't have him in mind initially but I was aware that I wanted to have some sort of sculptor to influence my work. I wanted to choose something very different but also at the same time it had to be a little similar to my interests. An obvious choice would be to research into architecture or into nature because they are some things I am familiar with having researched them a lot.
I looked into sculpture and fond Michelangelo's work which is of course amazing. I decided to focus on arguably his most famous piece. David.
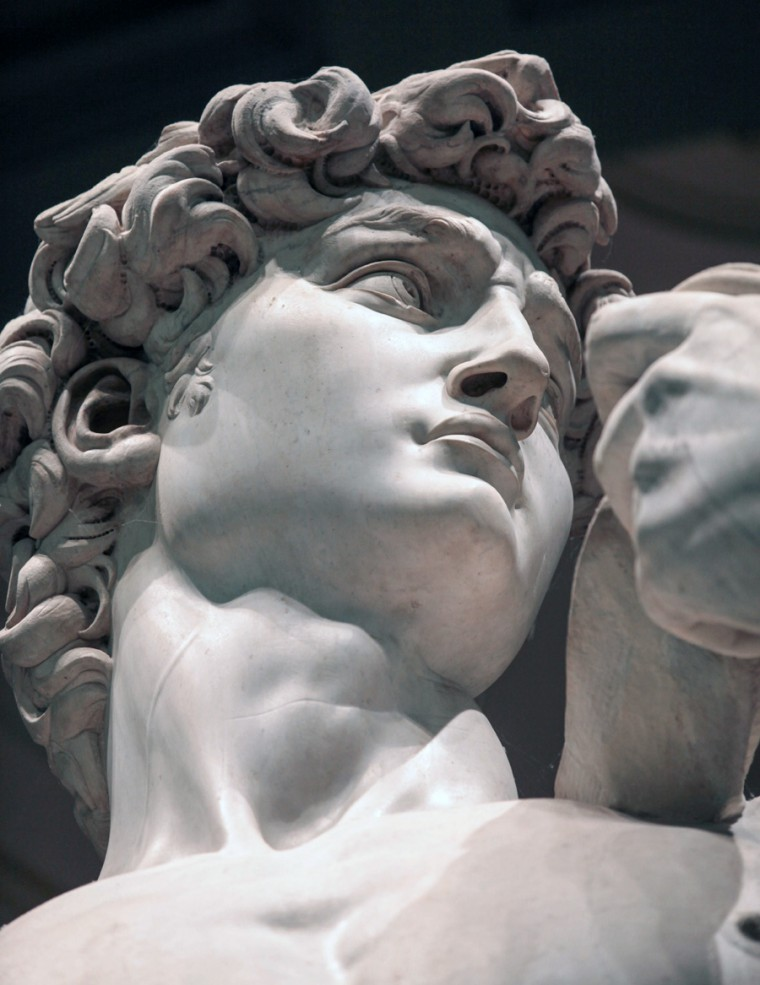
I stuck in a range of images of David and wrote a little summary of the work, when it was commissioned etc etc.
Moodboards //
Another thing we were required to have was a moodboard. The moodboard would act as a narrative into what we were planning to achieve with our creation. It would also provide a creative direction for our designing, acting as a reference for whenever we need inspiration.
As my theme was about sculpture I collected some images that were related to the theme but also ones I thought had interesting qualities. These such images all share the nature of elegance, they were each very amazing sculptures but furthermore they were all amazingly fluid and serene.

Stand Work //
As I was unable to attend Monday's session I had to play catch up. I found out that on Monday the class were required to create samples based off of their themes with paper. This could be done by physically manipulating the paper, multiplying and playing with the scale in order to create something worth working with.

This was my sample added onto a mannequin to give it some context. I made it using two strips of paper that i cut about 90% of the length in two places so that it would create 3 long tassels. I played around with the paper and manipulated it's shape, folding in places and plaiting in others, to create this piece. I was aiming for elegance. It didn't take me long to produce this little sample and considering I was already behind it was a great feeling to create something I was happy with so soon.


I continued to add to it by creating more of the same piece and grouping them together. It was tricky trying to attach them all with pins. The idea was to have something someone could actually wear instead of just designing something on the mannequin.


As it had to be able to come off of the mannequin and onto a model I decided to add support around the neck and the waist. Hopefully they are strong enough to ensure it is actually wearable.


I had to make sure the supports were enough to hold it up and also not too much that it will distract you from the centerpiece. Putting a cross section on the back seemed like a really good plan as it would prevent it falling off of the front as well as offering more support for the weight of the shoulder piece.


I was very happy with the result as I had managed to catch up and create something that worked and something that also reflected my moodboard in under one lesson.
The photoshoot was very brief, it wasn't anything majorly fancy or even just fancy. The day of the photoshoot was a little bit unclear. Some people thought it was a different time to when it actually was. For that reason I decided to just take my pictures to make sure I have actual modelled pictures of my final outcome.


Comments
Post a Comment